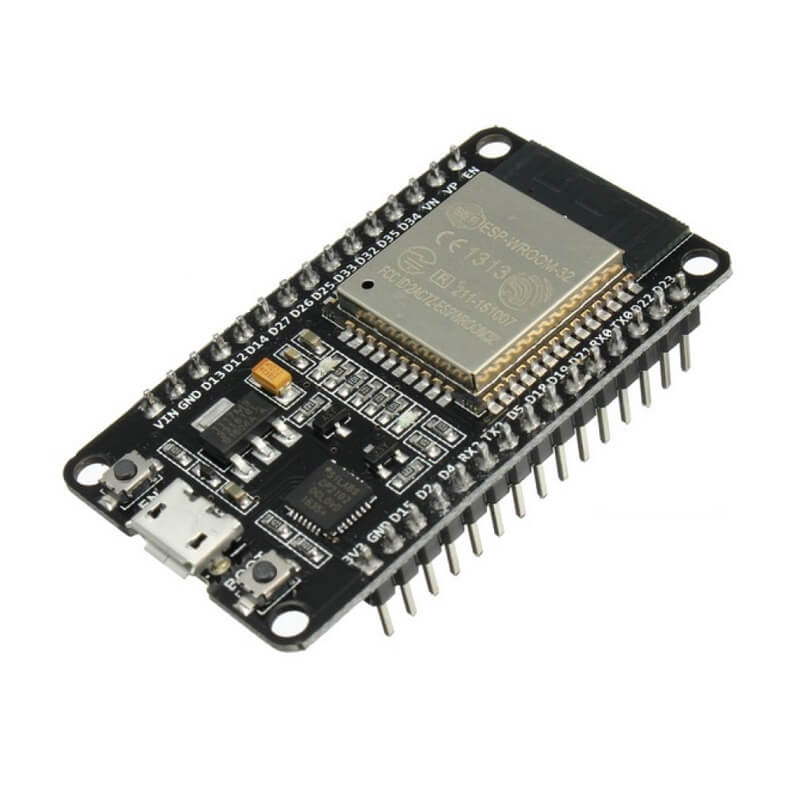
ESP32, MicroPython, MQTT
아래와 같은 삽질을 했다. 삽질은 기록이라고… 대충 정리함
ESP32에서 MicroPython을 언젠가 한번 사용해봐야지 하고 있었는데 기왕 하는 김에 MQTT까지 연결해봤다.

- ESP32 에 MicroPython을 설치한다.
- ESP32에서 MicroPython으로 MQTT Client를 만든다
- 맥북에 MQTT 서버를 설치한다
- 맥북에서 Python을 이용해서 MQTT Client를 만든다.
- ESP32 – 맥북사이의 MQTT Client와 데이터를 주고 받기 테스트
ESP32에 MicroPython 설치하기
ESP32에 MicroPython을 설치하려면 firmware를 다운 받아서 설치해야 한다. 다운로드는 아래 링크에서 받을 수 있다. 가지고 있는 하드웨어에 맞게 버전을 선택해서 다운 받으면 된다.
https://micropython.org/download/esp32/
다운받은 파일을 설치하기 위해서는 esptool을 사용할 수 있다.
$ pip install esptoolhttps://github.com/espressif/esptool
디바이스가 연결된 포트를 확인하고 (ex: /dev/tty.SLAB_USBtoUART) 아래와 같이 firmware를 설치한다.
기존데이터를 지우고
$ esptool.py --port /dev/tty.SLAB_USBtoUART erase_flash

설치한다
$ esptool.py --chip esp32 --port /dev/ttyUSB0 write_flash -z 0x1000 esp32-idf3-20200902-v1.13.bin
ESP32에 MQTT Client 만들기
개발은 VSCode를 이용해서 Pymakr 라는 Extension을 설치하고 코드를 쓰고 업로드와 실행 테스트를 할 수 있다. 설치하면 VSCode 아래 메뉴바에 Run, Upload등의 메뉴를 확인할 수 있다.
Pymakr은 아래 링크 참조
https://marketplace.visualstudio.com/items?itemName=pycom.Pymakr
아래 코드는 https://randomnerdtutorials.com/micropython-mqtt-esp32-esp8266/ 에서 참고 했다. boot.py는 ESP32 가 시작할때 Wifi에 연결하고 main.py에서 MQTT Client를 생성해서 데이터를 수신한다.
boot.py
import time
from umqttsimple import MQTTClient
import ubinascii
import machine
import micropython
import network
import esp
esp.osdebug(None)
import gc
gc.collect()

ssid = 'SSID'
password = 'PASSWORD'
mqtt_server = '192.168.0.7'
client_id = ubinascii.hexlify(machine.unique_id())
topic_sub = b'hello'
topic_pub = b'notification'

station = network.WLAN(network.STA_IF)
station.active(True)
station.connect(ssid, password)

while station.isconnected() == False:
   pass

print('Connection successful')
print(station.ifconfig())
main.py
def sub_cb(topic, msg):
    print((topic, msg))

def connect_and_subscribe():
    global client_id, mqtt_server, topic_sub
    client = MQTTClient(client_id, mqtt_server)
    client.set_callback(sub_cb)
    client.connect()
    client.subscribe(topic_sub)
    print('Connected to %s MQTT broker, subscribed to %s topic' % (mqtt_server, topic_sub))
    return client

def restart_and_reconnect():
    print('Failed to connect to MQTT broker. Reconnecting...')
    time.sleep(10)
    machine.reset()

try:
    client = connect_and_subscribe()
    client.publish(topic="hello", msg="Send By ESP32")
except OSError as e:
    restart_and_reconnect()

while True:
    try:
        new_message = client.check_msg()
        if new_message != 'None':
            client.publish(topic_pub, b'received')
        time.sleep(1)
    except OSError as e:
        restart_and_reconnect()
맥북에 MQTT 서버 설치
MQTT 서버는 상세정보는 아래 링크에서 참조 할 수 있고 주로 IOT 장비의 네트웍을 구성하는데 많이 사용한다. 나는 brew를 이용해 모스키토(Mosquitto)를 설치했다.
https://medium.com/@jspark141515/mqtt%EB%9E%80-314472c246ee
서비스 설치
brew install mosquitto

서비스 실행
brew services start mosquitto

서비스 중지
brew services stop mosquitto
맥북에서 송, 수신을 확인 할 수 있는 MQTT Client
Python용 MQTT 패키지를 먼저 설치한다.
https://pypi.org/project/paho-mqtt/

$ pip install paho-mqtt
Subscribe.py
import paho.mqtt.client as mqtt

def on_connect(client, userdata, flags, rc):
print ("Connected with result code " + str(rc))
client.subscribe("hello")

def on_message(client, userdata, msg):
print ("Topic: ", msg.topic + '\nMessage: ' + str(msg.payload))

client = mqtt.Client()
client.on_connect = on_connect
client.on_message = on_message
client.connect("192.168.0.7", 1883, 60)

client.loop_forever()
Publish.py
import paho.mqtt.client as mqtt

mqttc = mqtt.Client("python_pub")
mqttc.connect("192.168.0.7", 1883)
mqttc.publish("hello", "Hello Billy")
mqttc.loop(2)
Publish.py를 실행하면 Subscribe.py와 ESP32에서 “Hello Billy” 메세지를 수신하는 것을 확인 할 수 있었다.